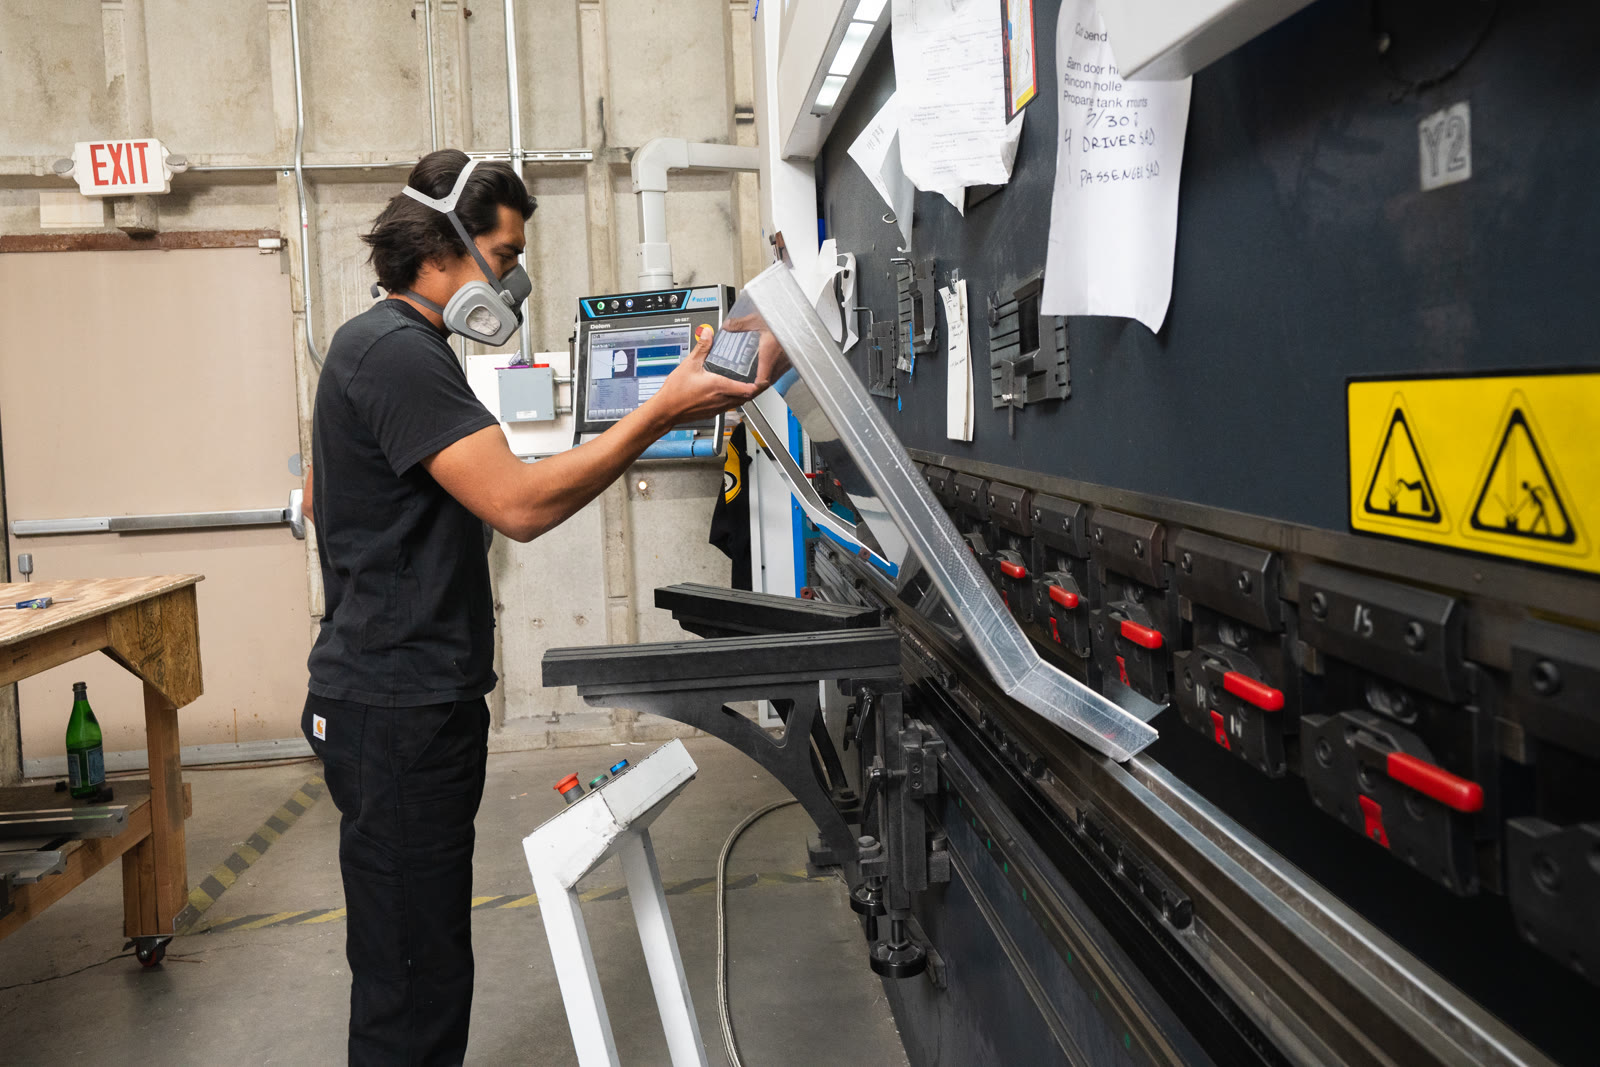
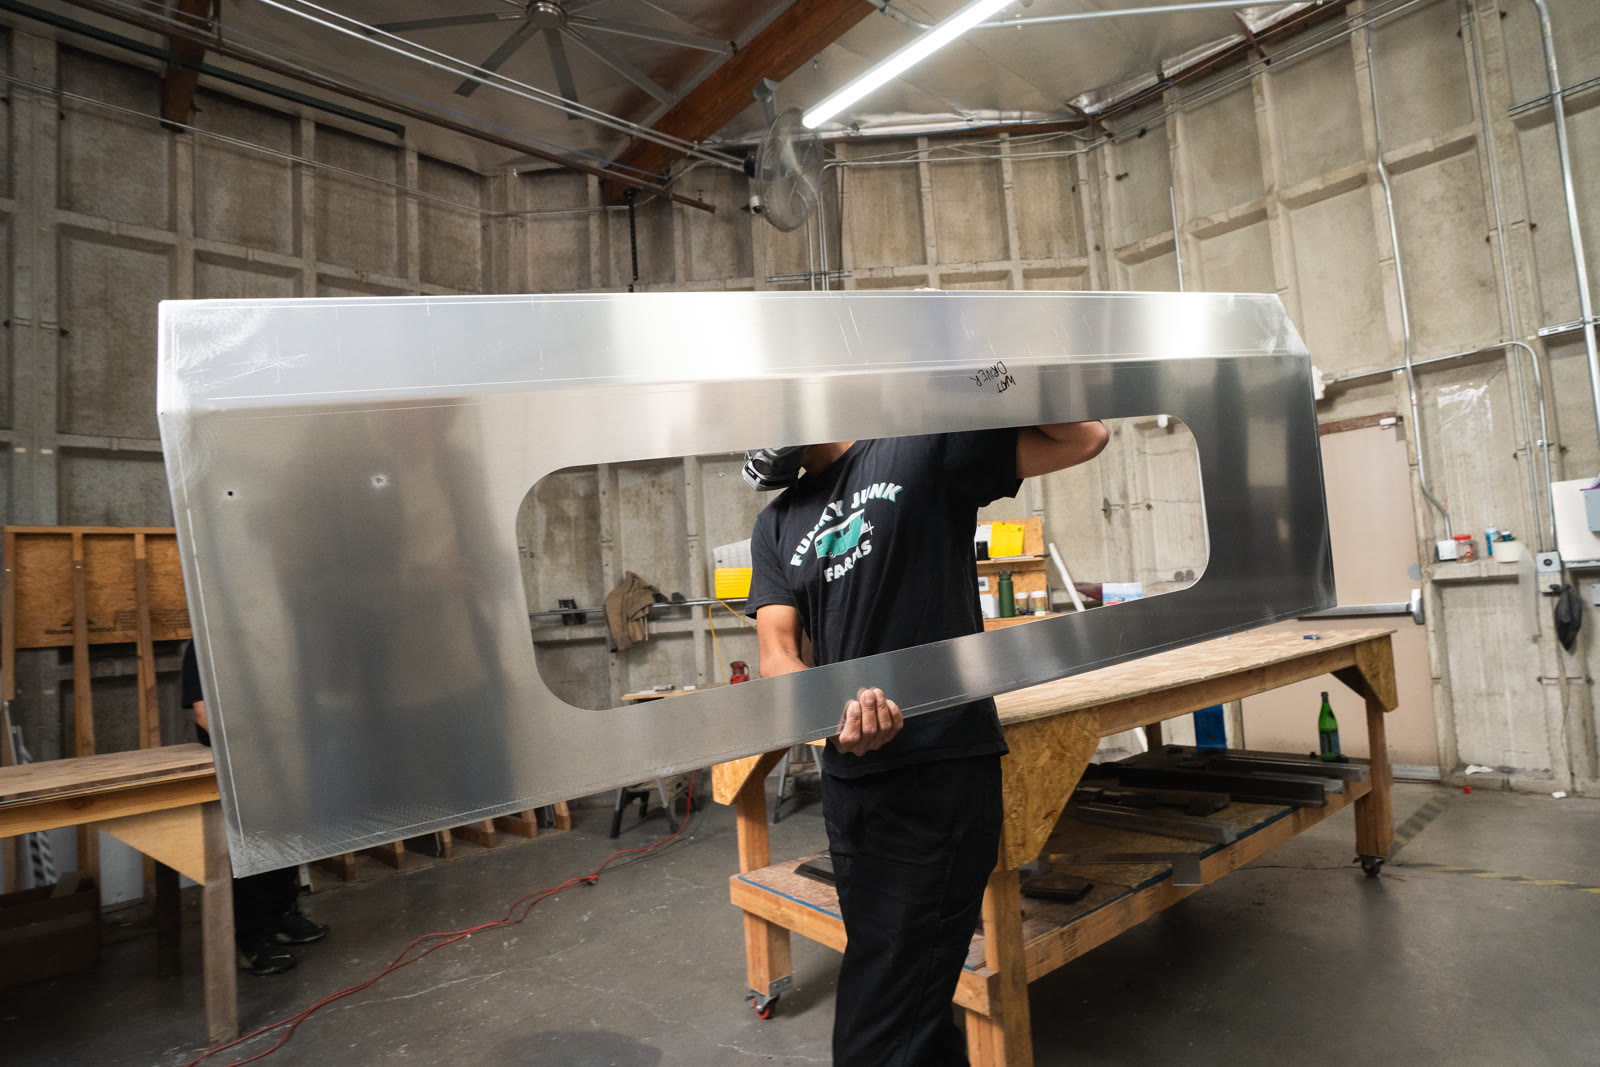
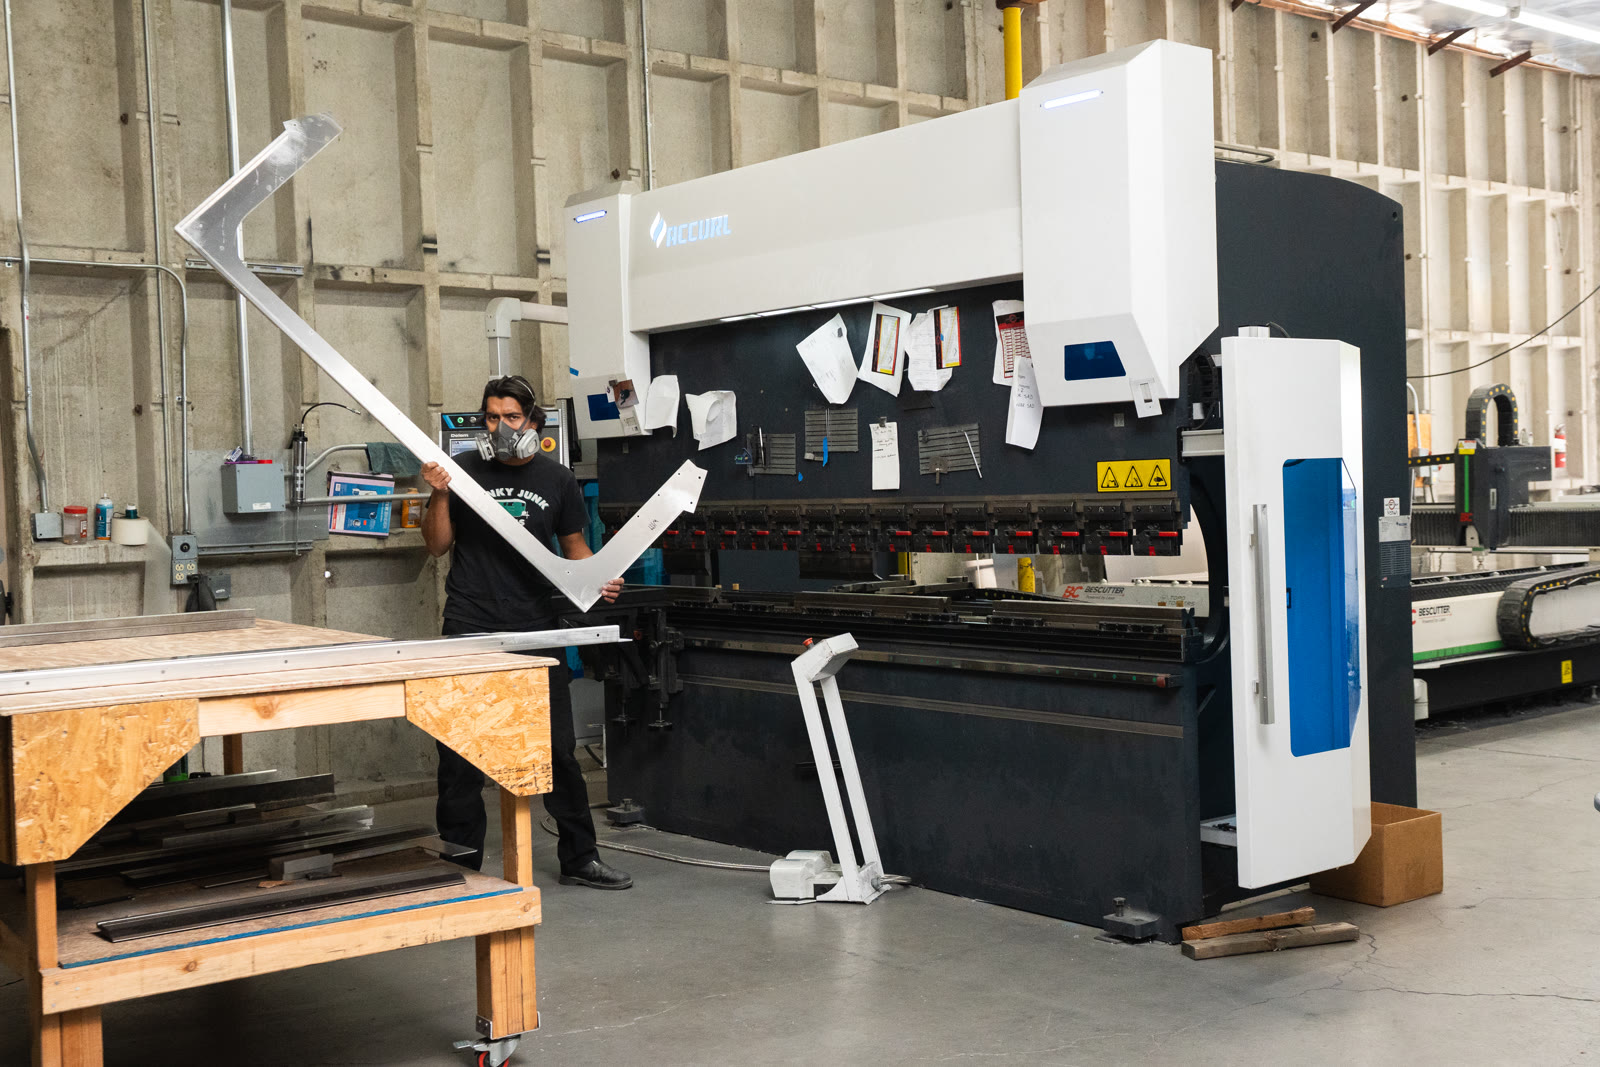
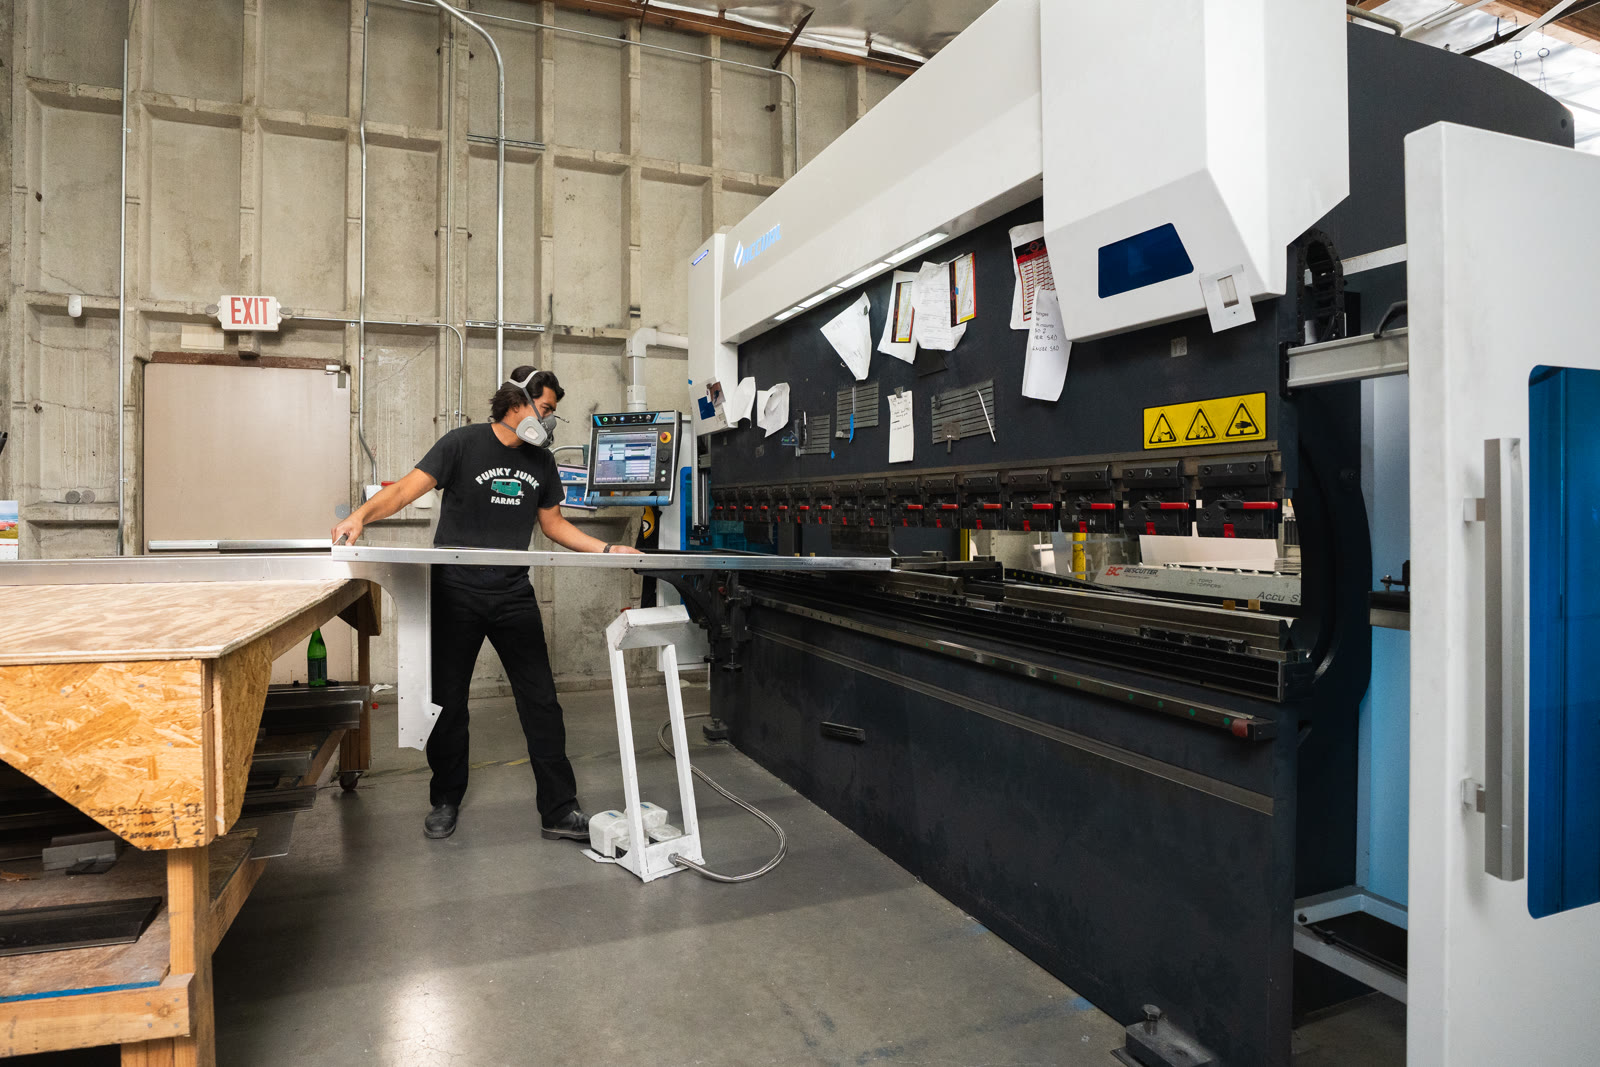
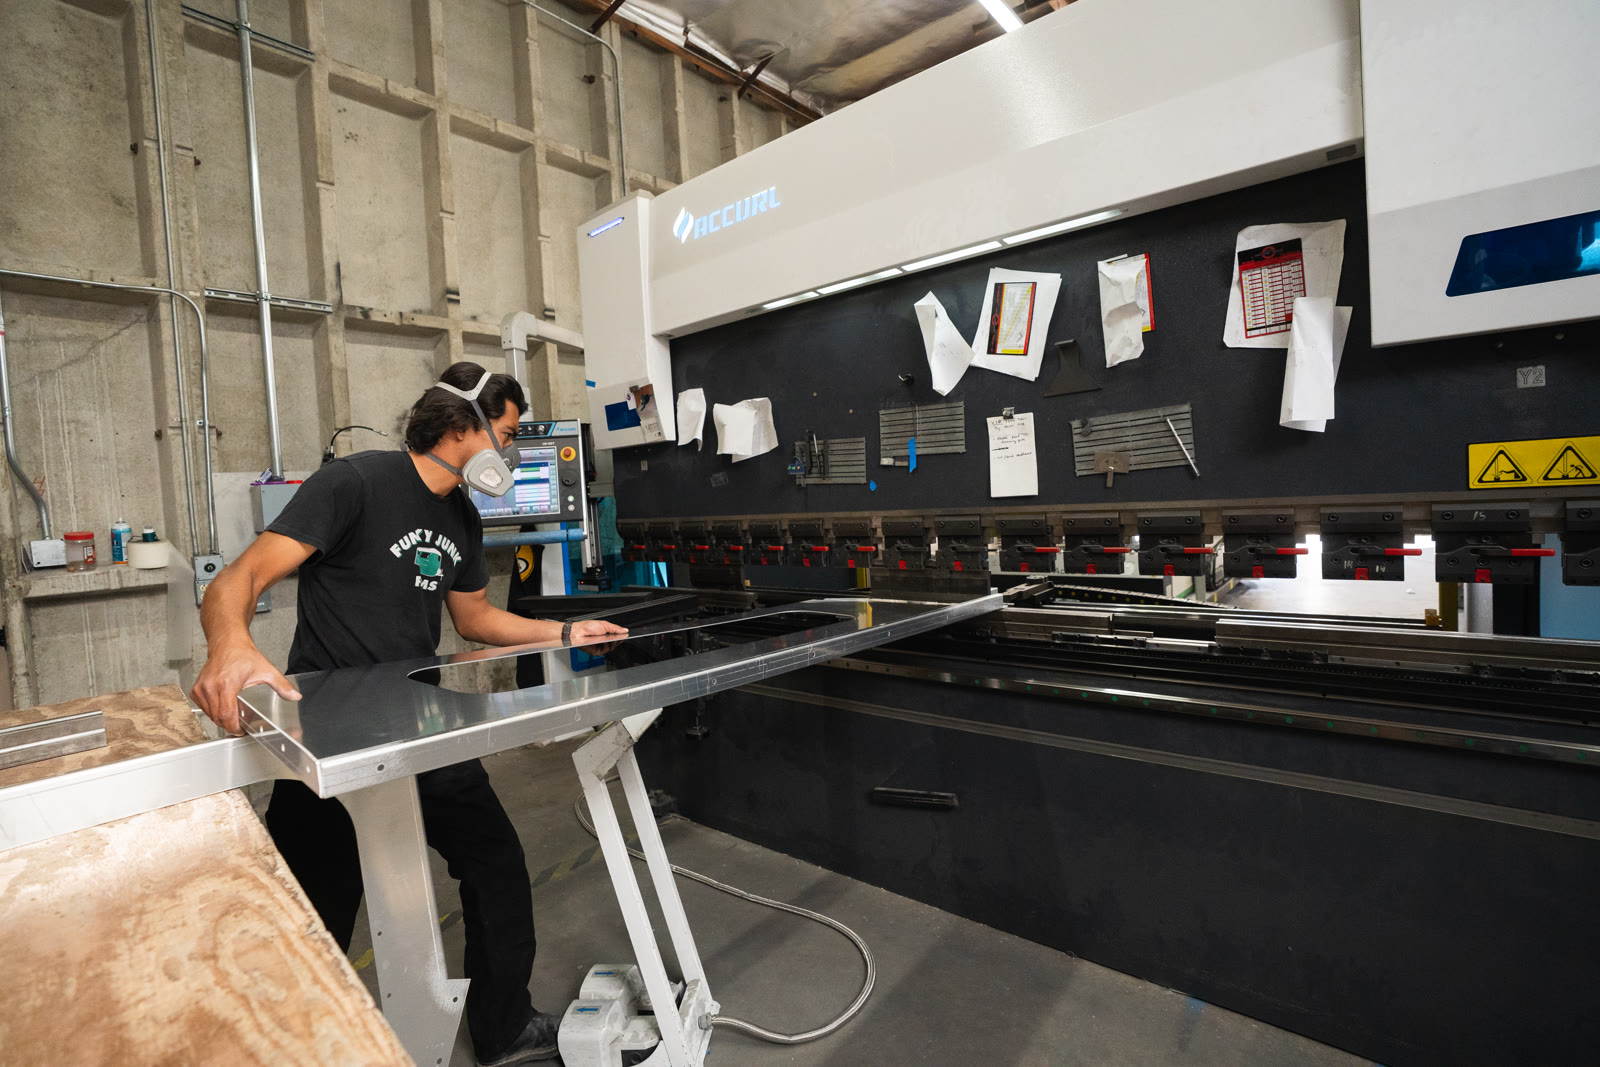
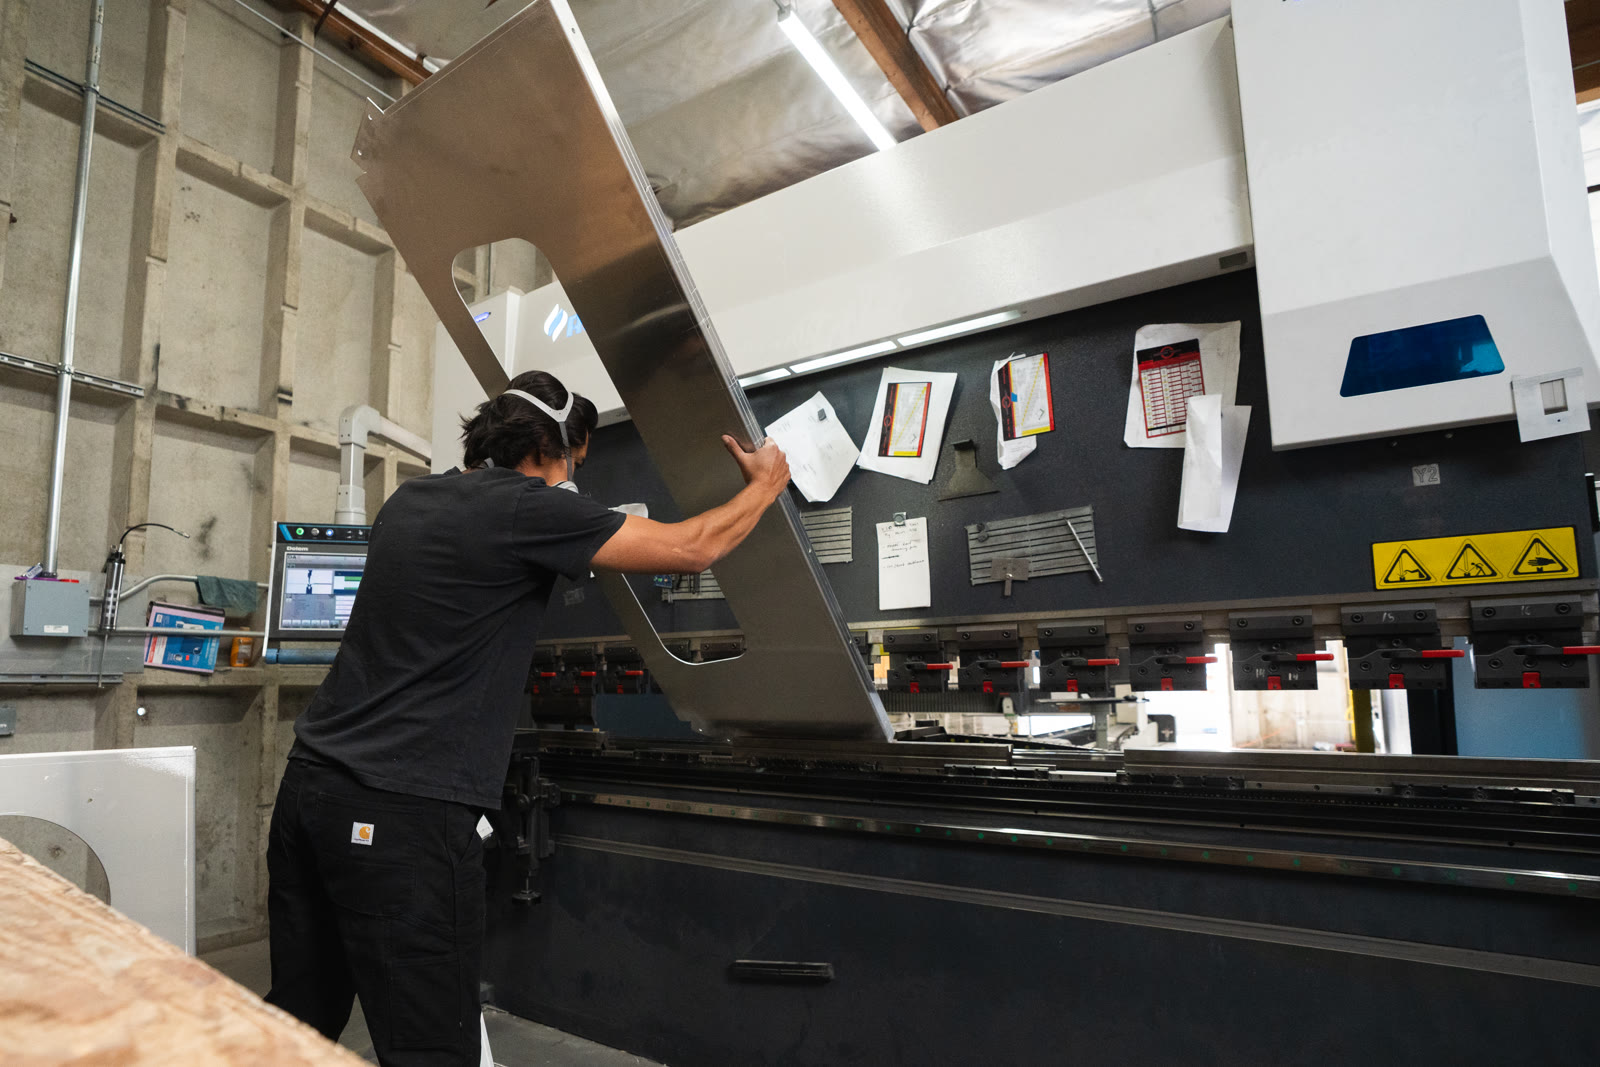
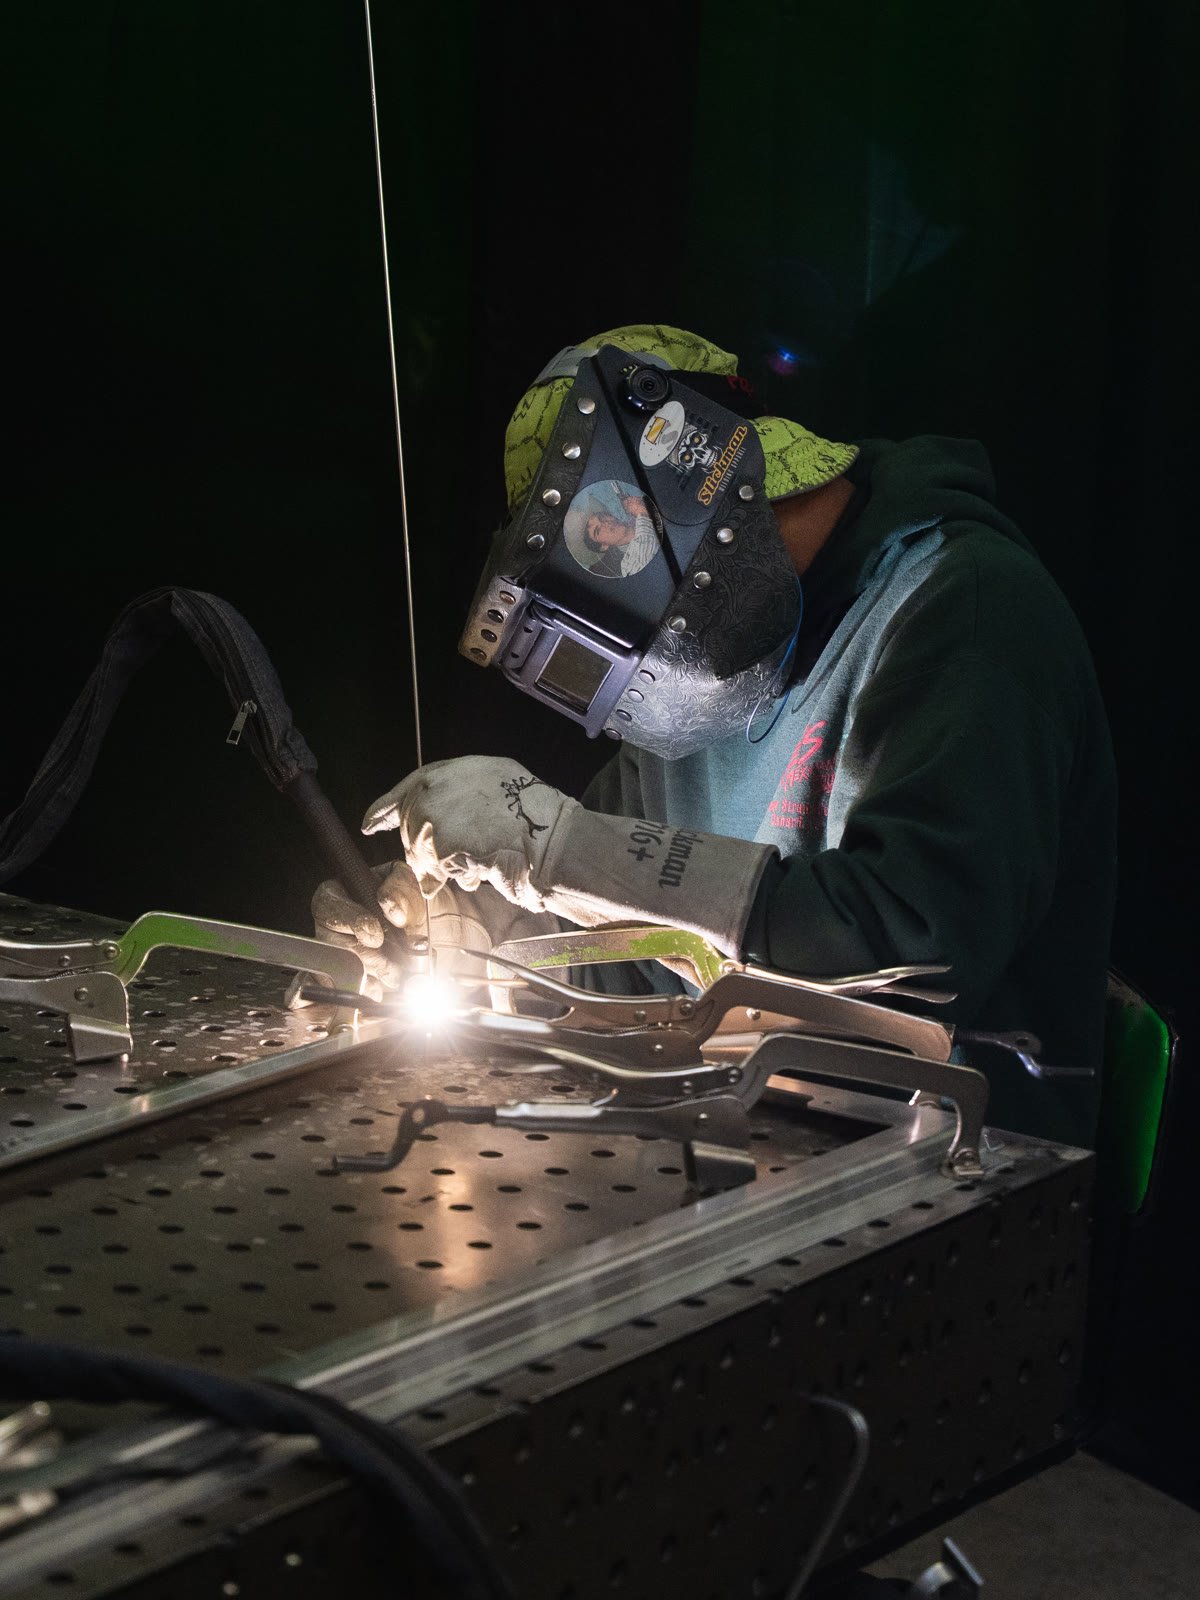
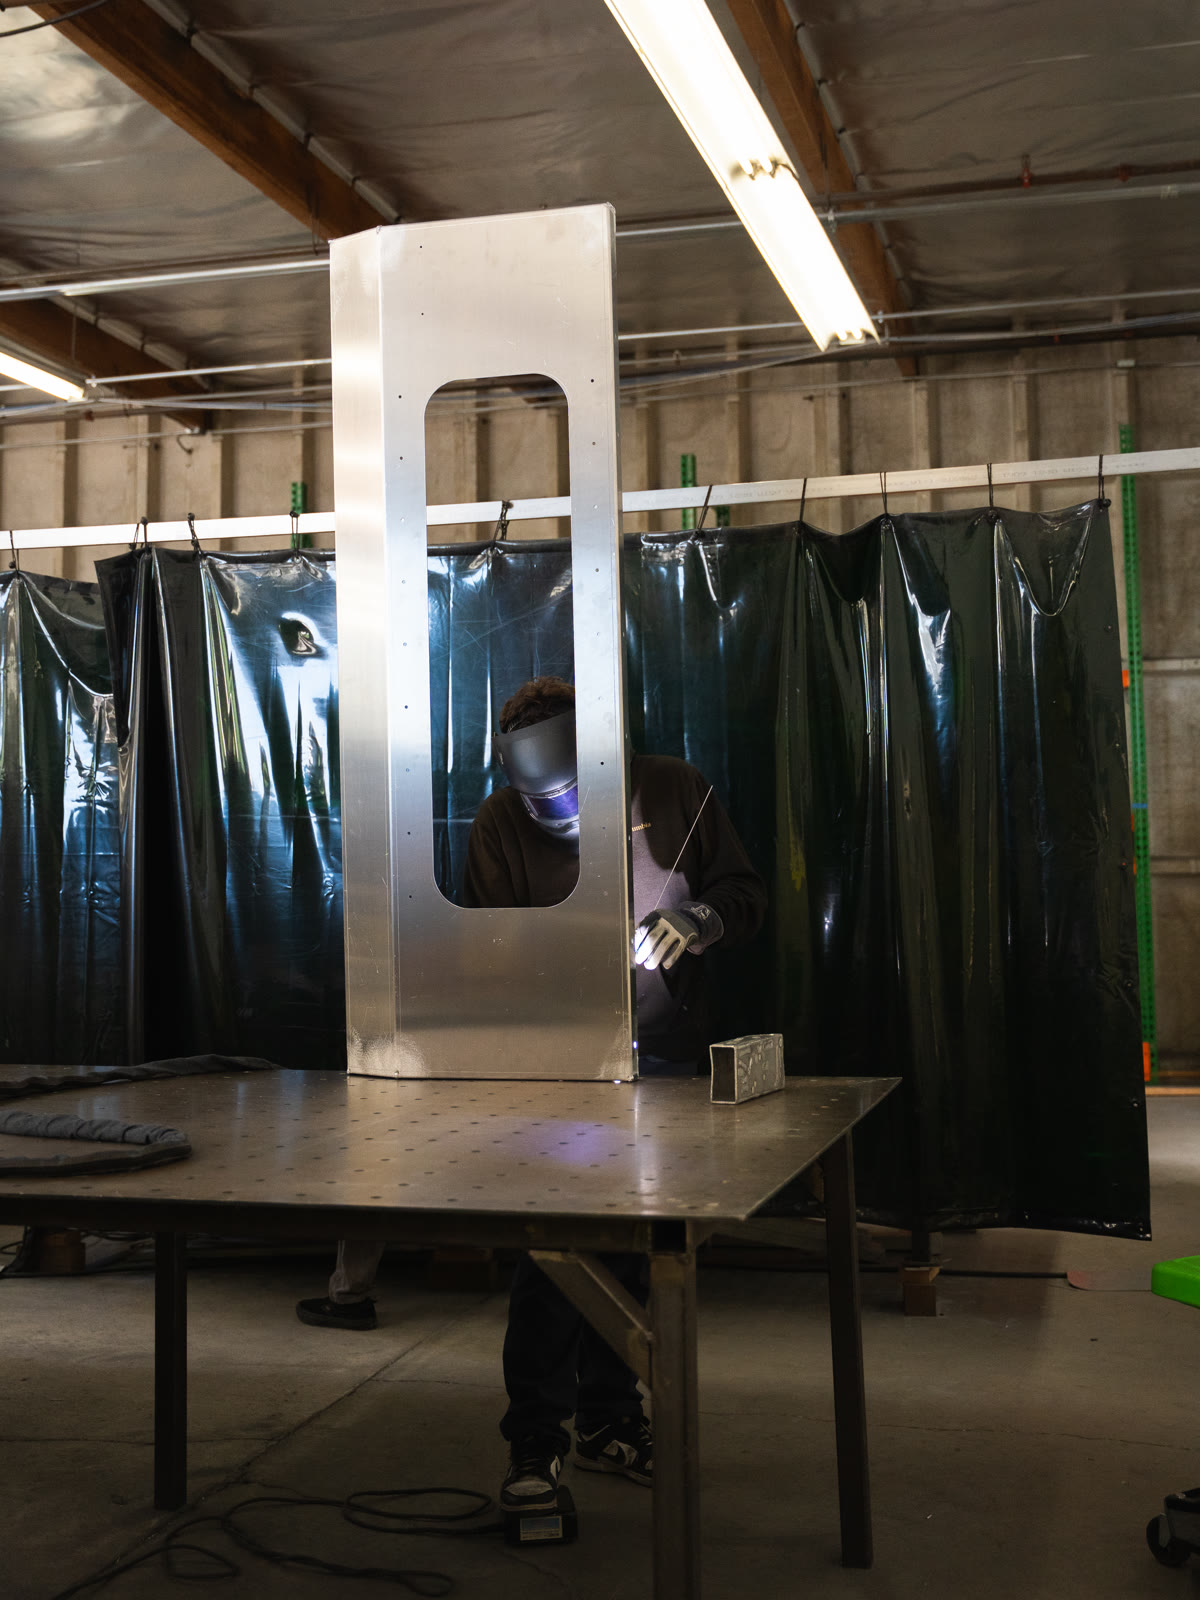
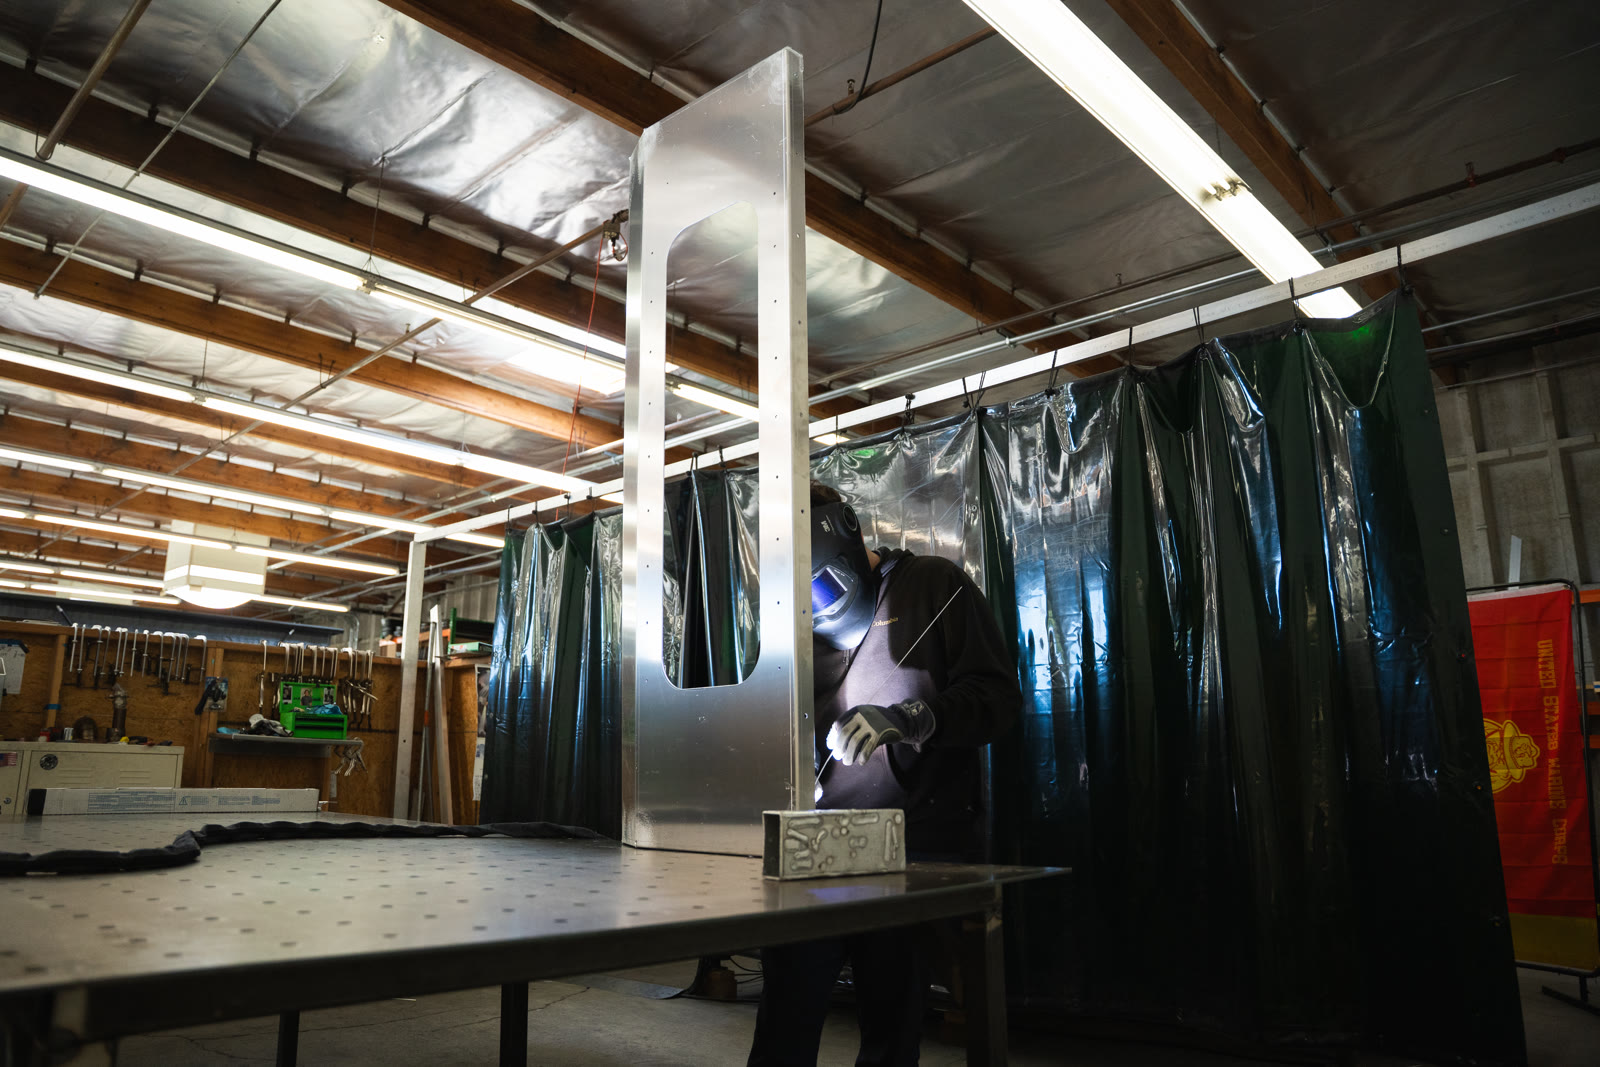
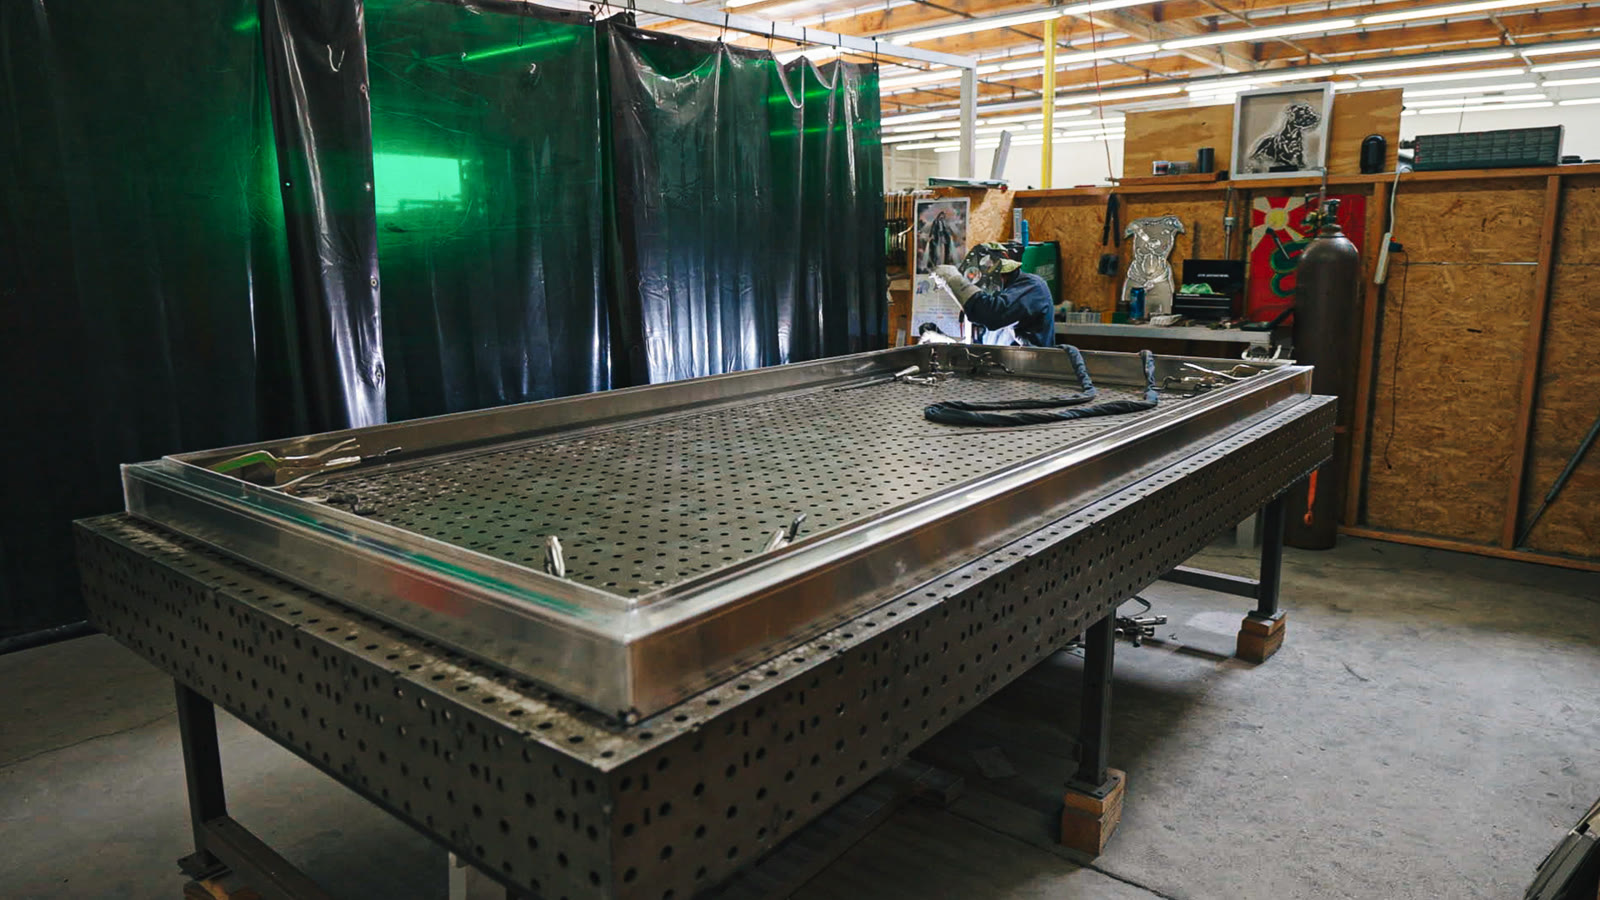
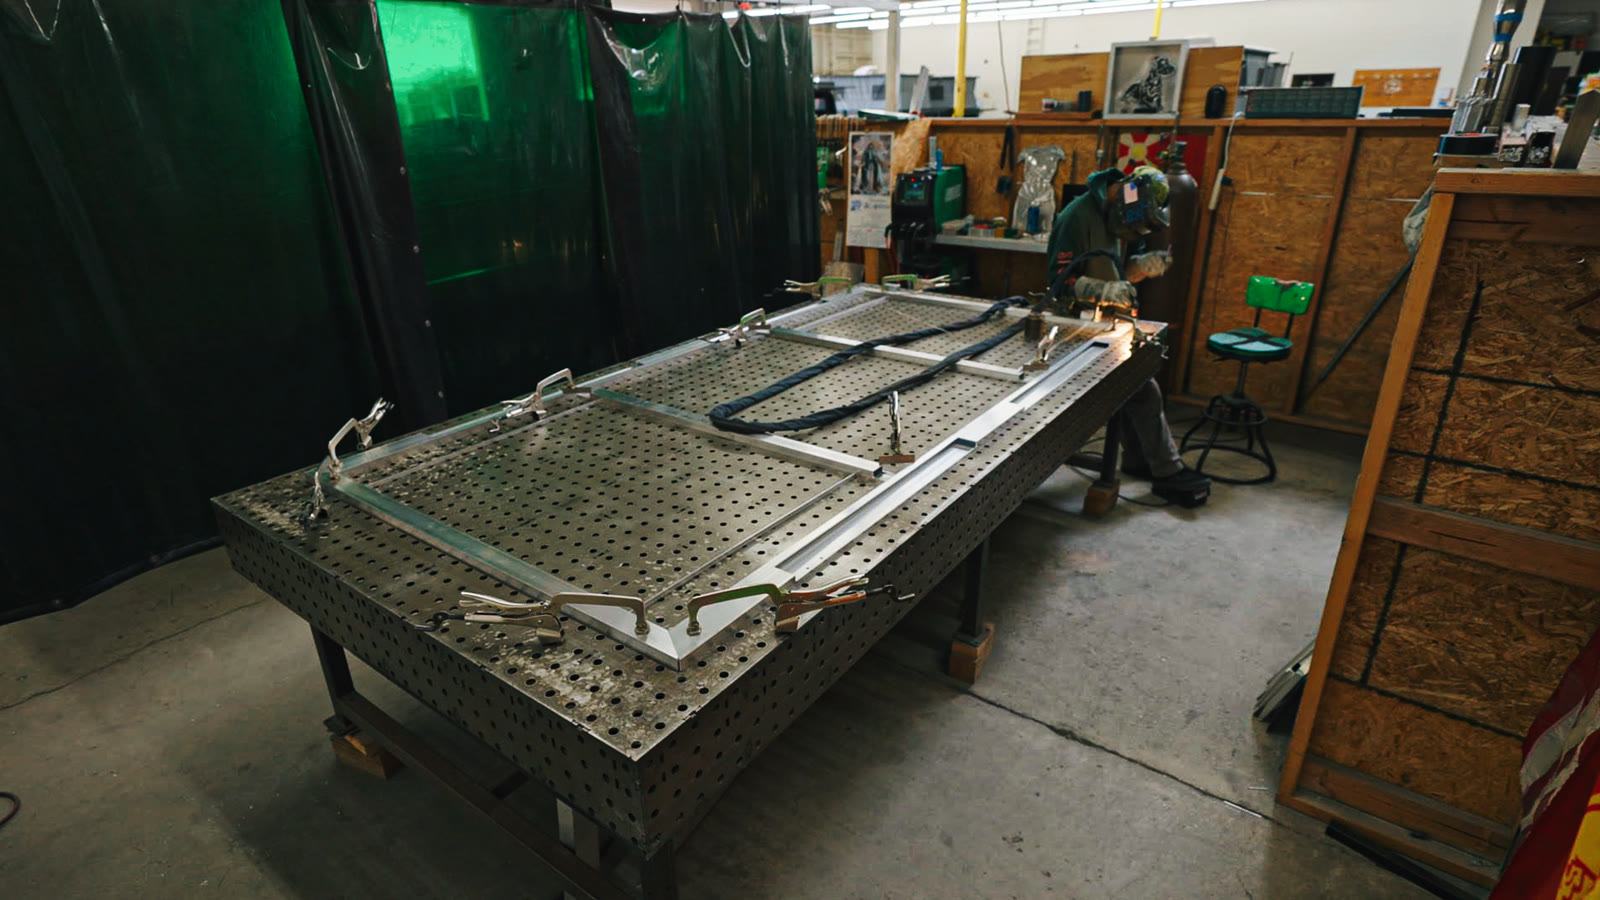
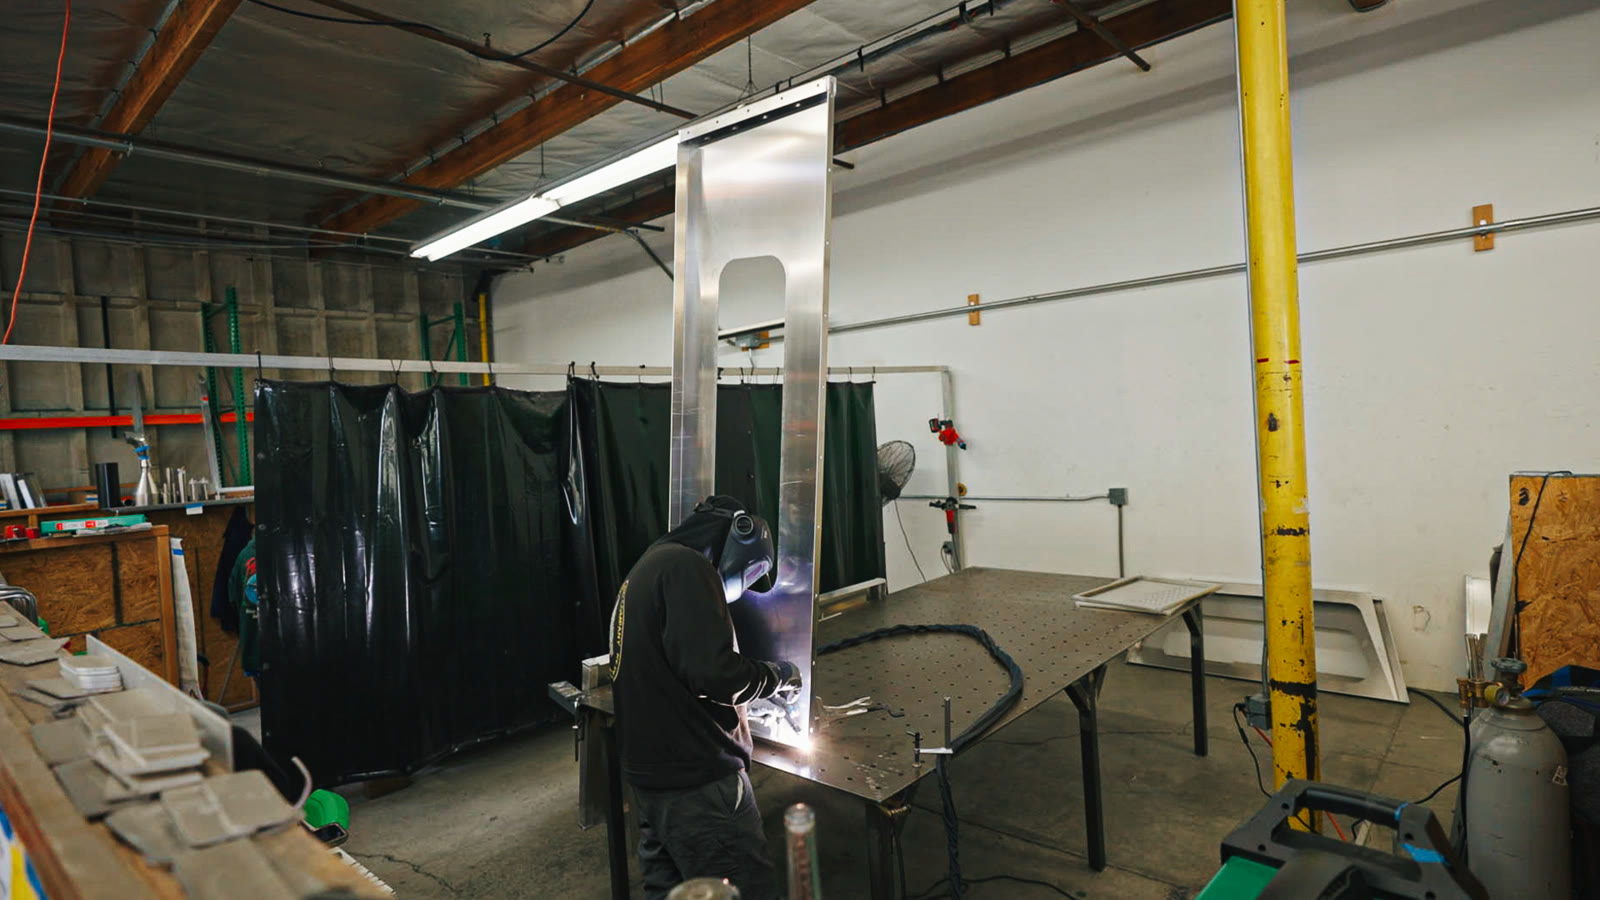
With Cutout
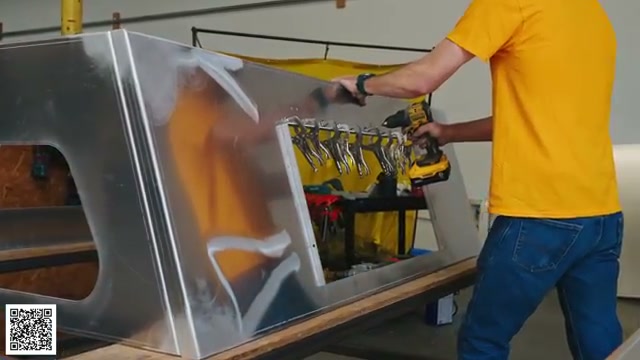
Cab Side MOLLE Panel
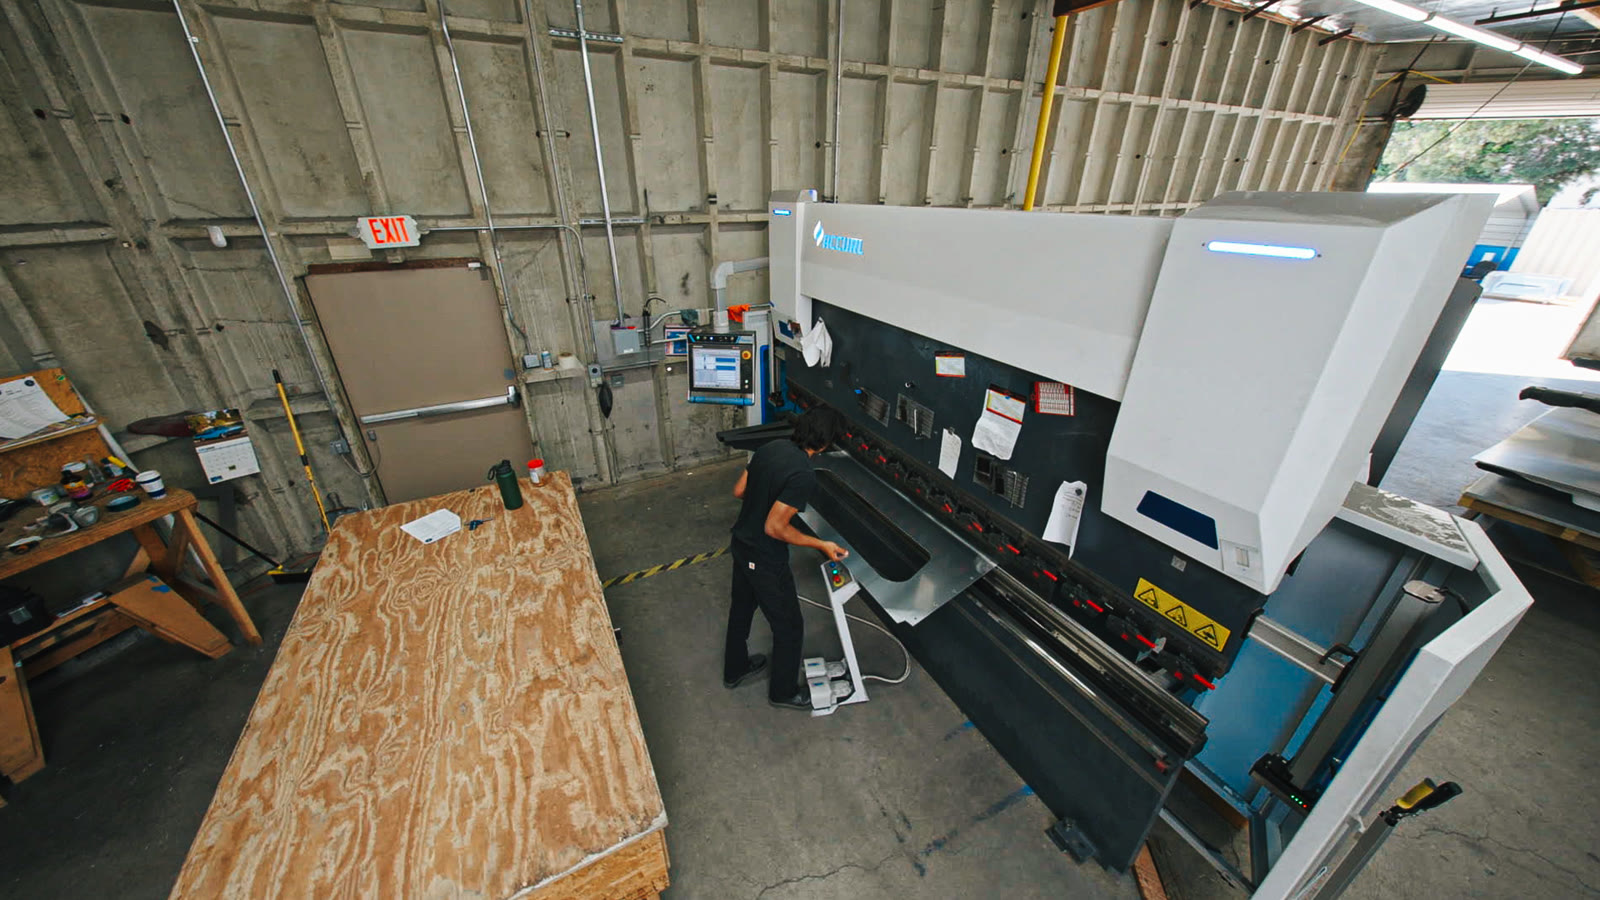
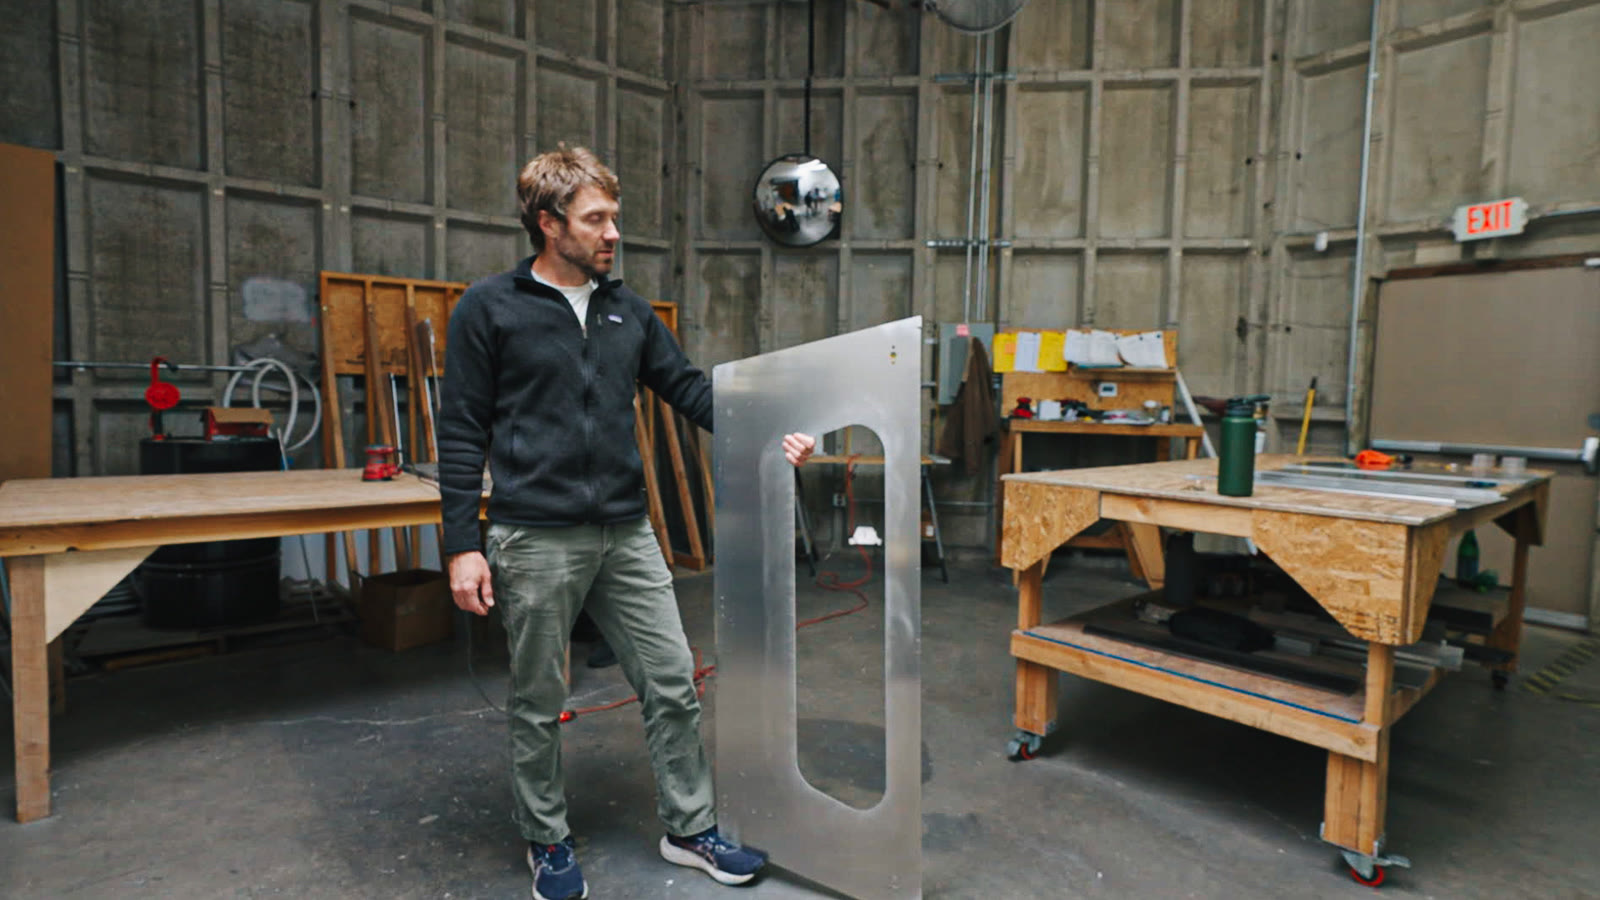
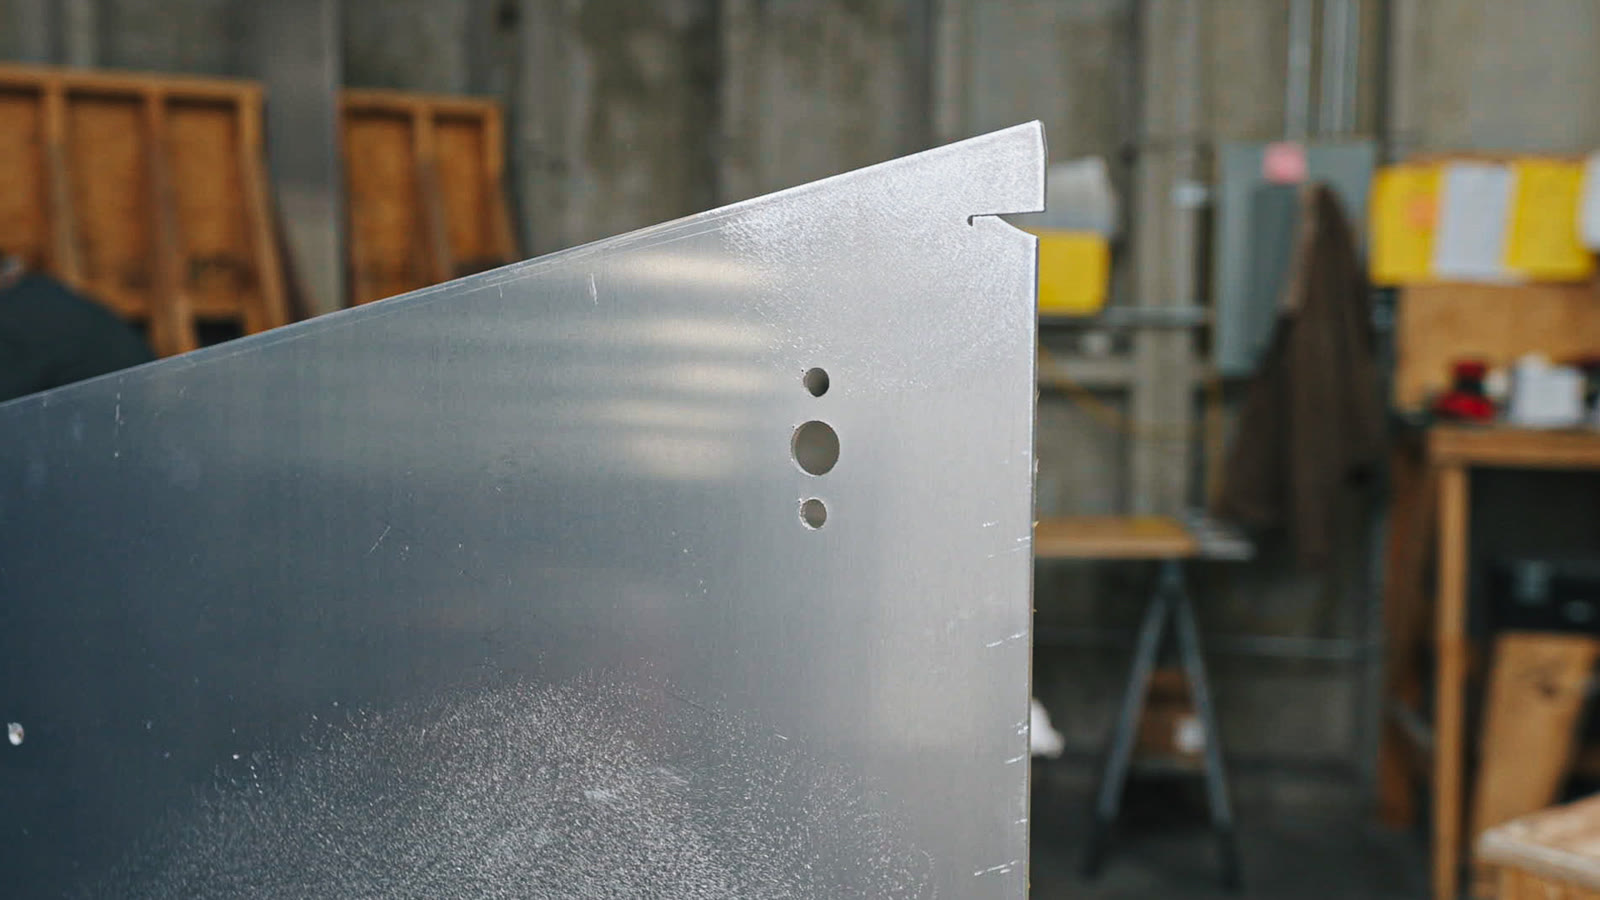
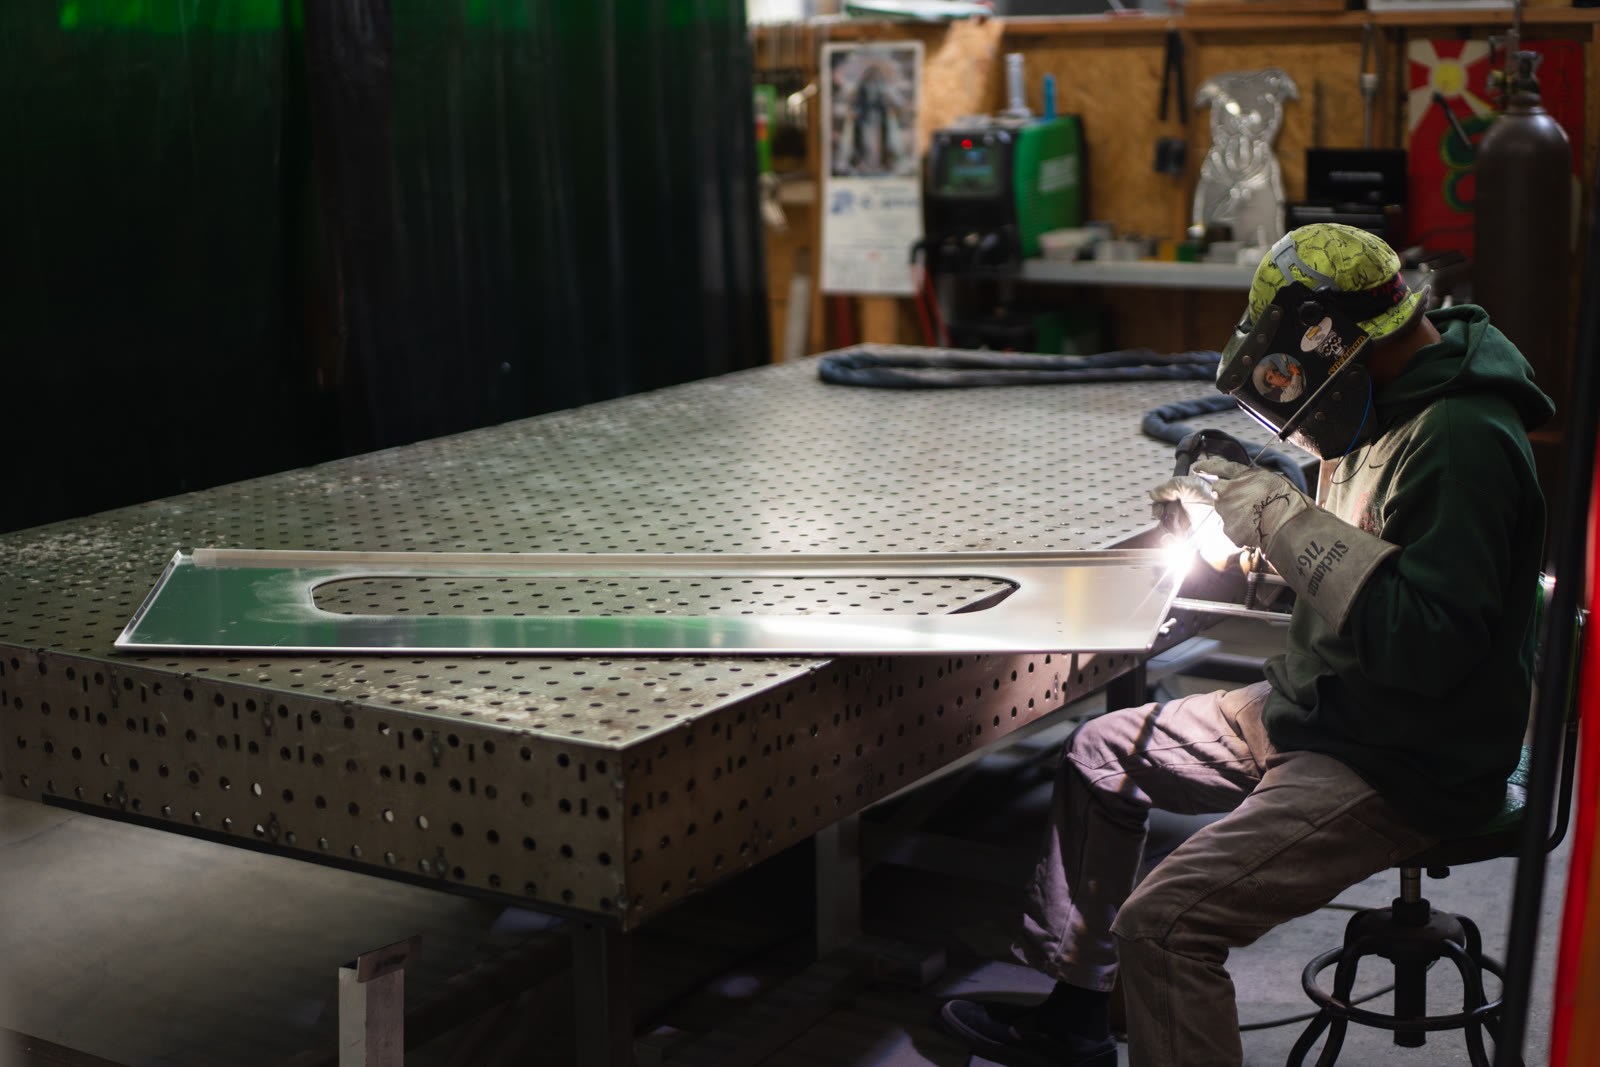
Cab-side MOLLE panel with a window cutout for retaining pass-through visibility.
Offered on Mesa, Badlander, Rincon
Without Cutout
Cab Side MOLLE Panel
Solid cab-side MOLLE panel for interior mounting and organization.
Offered on Mesa, Badlander, Rincon
Center Slide Tilt Down
Cab Side Window
Adds a front pass-through window with a center slider. The full window can tilt down to make the truck’s rear window easier to reach for cleaning.
Offered on Mesa, Badlander, Rincon
Exterior 52 x 18 MOLLE Panel
Driver Side Exterior MOLLE Panel
Adds a 52 x 18-inch exterior MOLLE panel to the fixed solid driver-side panel. Requires exterior side L-track.
Requires either exterior L-track or fixed solid panel
Cannot be combined with Gullwing Door, Slider Window 40x12 in or Tern Overland Awning Window.
Offered on Mesa, Badlander
Exterior 52 x 18 MOLLE Panel
Driver Side Exterior MOLLE Panel
Adds a 52 x 18-inch exterior MOLLE panel to the fixed solid driver-side panel. Requires exterior side L-track.
Requires exterior L-track
Cannot be combined with Slider Window 40x12 in or Tern Overland Awning Window.
Offered on Rincon
Exterior 52 x 18 MOLLE Panel with Window Cut Out
Driver Side Exterior MOLLE Panel
Adds a 52 x 18-inch exterior MOLLE panel with a driver-side window cutout. Requires exterior side L-track.
Requires exterior L-track, side window and solid side panel
Cannot be combined with Gullwing Door or Tern Overland Awning Window.
Offered on Mesa, Badlander
Exterior 52 x 18 MOLLE Panel with Window Cut Out
Driver Side Exterior MOLLE Panel
Adds a 52 x 18-inch exterior MOLLE panel with a driver-side window cutout. Requires exterior side L-track.
Requires exterior L-track, side window and solid side panel
Cannot be combined with Tern Overland Awning Window.
Offered on Rincon
L-Track 4ft
Driver Side Exterior Track
Adds a driver-side 4-foot exterior L-track rail as a mounting point for compatible gear.
Cannot be combined with Gullwing Door.
Offered on Mesa, Badlander
L-Track 4ft
Driver Side Exterior Track
Adds a driver-side 4-foot exterior L-track rail as a mounting point for compatible gear.
Offered on Rincon
L-Track 6ft
Driver Side Exterior Track
Adds a driver-side 6-foot exterior L-track rail as a mounting point for compatible gear.
Cannot be combined with Gullwing Door.
Offered on Mesa, Badlander
L-Track 6ft
Driver Side Exterior Track
Adds a driver-side 6-foot exterior L-track rail as a mounting point for compatible gear.
Offered on Rincon
Full Window Cut Out
Driver Side Interior MOLLE
Adds a full-length interior MOLLE panel on the driver side with full window cutout for side-window builds. Requires exterior side L-track.
Requires exterior L-track, side window and solid side panel
Offered on Mesa, Badlander, Rincon
Half Window Cut Out
Driver Side Interior MOLLE
Adds a full-length interior MOLLE panel on the driver side with half window cutout for side-window builds. Requires exterior side L-track.
Requires exterior L-track, side window and solid side panel
Offered on Mesa, Badlander, Rincon
No Window Cut Out
Driver Side Interior MOLLE
Adds a full-length interior MOLLE panel on the driver side with no window cutout for solid-panel builds. Requires exterior side L-track.
Requires exterior L-track and solid side panel
Offered on Mesa, Badlander, Rincon
Side Door MOLLE Panel
Driver Side Interior MOLLE
MOLLE panel that nests inside the driver side Topo side access door for mounting and organizing gear.
Requires gullwing door
Offered on Mesa, Badlander
Gullwing Door
Driver Side Panel
Adds a driver-side side access door for easier access to the truck bed from outside the camper.
Cannot be combined with Exterior 52 x 18 MOLLE Panel, Exterior 52 x 18 MOLLE Panel with Window Cut Out, L-Track 4ft or L-Track 6ft.
Offered on Mesa, Badlander
Slider Window 40x12 in
Driver Side Window
Adds a driver-side 40 x 12-inch glass sliding window with a removable screen for light and ventilation.
Requires either Fixed Solid Panel or gullwing door
Cannot be combined with Exterior 52 x 18 MOLLE Panel.
Offered on Mesa, Badlander
Slider Window 40x12 in
Driver Side Window
Adds a driver-side 40 x 12-inch glass sliding window with a removable screen for light and ventilation.
Cannot be combined with Exterior 52 x 18 MOLLE Panel.
Offered on Rincon
Tern Overland Awning Window
Driver Side Window
Adds a driver-side double-pane awning window with partial-opening positions, an insect screen, and an interior shade.
Requires Fixed Solid Panel
Cannot be combined with Driver Side RotoPax Mount, Exterior 52 x 18 MOLLE Panel or Exterior 52 x 18 MOLLE Panel with Window Cut Out.
Offered on Mesa, Badlander
Tern Overland Awning Window
Driver Side Window
Adds a driver-side double-pane awning window with partial-opening positions, an insect screen, and an interior shade.
Cannot be combined with Driver Side RotoPax Mount, Exterior 52 x 18 MOLLE Panel or Exterior 52 x 18 MOLLE Panel with Window Cut Out.
Offered on Rincon
Exterior 52 x 18 MOLLE Panel
Passenger Side Exterior MOLLE Panel
Adds a 52 x 18-inch exterior MOLLE panel to the fixed solid passenger-side panel. Requires exterior side L-track.
Requires either exterior L-track or fixed solid panel
Cannot be combined with Gullwing Door, Slider Window 40x12 in or Tern Overland Awning Window.
Offered on Mesa, Badlander
Exterior 52 x 18 MOLLE Panel
Passenger Side Exterior MOLLE Panel
Adds a 52 x 18-inch exterior MOLLE panel to the fixed solid passenger-side panel. Requires exterior side L-track.
Requires exterior L-track
Cannot be combined with Slider Window 40x12 in or Tern Overland Awning Window.
Offered on Rincon
Exterior 52 x 18 MOLLE Panel with Window Cut Out
Passenger Side Exterior MOLLE Panel
Adds a 52 x 18-inch exterior MOLLE panel with a passenger-side window cutout. Requires exterior side L-track.
Requires exterior L-track, side window and solid side panel
Cannot be combined with Gullwing Door or Tern Overland Awning Window.
Offered on Mesa, Badlander
Exterior 52 x 18 MOLLE Panel with Window Cut Out
Passenger Side Exterior MOLLE Panel
Adds a 52 x 18-inch exterior MOLLE panel with a passenger-side window cutout. Requires exterior side L-track.
Requires exterior L-track, side window and solid side panel
Cannot be combined with Tern Overland Awning Window.
Offered on Rincon
L-Track 4ft
Passenger Side Exterior Track
Adds a passenger-side 4-foot exterior L-track rail as a mounting point for compatible gear.
Cannot be combined with Gullwing Door.
Offered on Mesa, Badlander
L-Track 4ft
Passenger Side Exterior Track
Adds a passenger-side 4-foot exterior L-track rail as a mounting point for compatible gear.
Offered on Rincon
L-Track 6ft
Passenger Side Exterior Track
Adds a passenger-side 6-foot exterior L-track rail as a mounting point for compatible gear.
Cannot be combined with Gullwing Door.
Offered on Mesa, Badlander
L-Track 6ft
Passenger Side Exterior Track
Adds a passenger-side 6-foot exterior L-track rail as a mounting point for compatible gear.
Offered on Rincon
Full Window Cut Out
Passenger Side Interior MOLLE
Adds a full-length interior MOLLE panel on the passenger side with full window cutout for side-window builds. Requires exterior side L-track.
Requires exterior L-track, side window and solid side panel
Offered on Mesa, Badlander, Rincon
Half Window Cut Out
Passenger Side Interior MOLLE
Adds a full-length interior MOLLE panel on the passenger side with half window cutout for side-window builds. Requires exterior side L-track.
Requires exterior L-track, side window and solid side panel
Offered on Mesa, Badlander, Rincon
No Window Cut Out
Passenger Side Interior MOLLE
Adds a full-length interior MOLLE panel on the passenger side with no window cutout for solid-panel builds. Requires exterior side L-track.
Requires exterior L-track and solid side panel
Offered on Mesa, Badlander, Rincon
Side Door MOLLE Panel
Passenger Side Interior MOLLE
MOLLE panel that nests inside the passenger side Topo side access door for mounting and organizing gear.
Requires gullwing door
Offered on Mesa, Badlander
Gullwing Door
Passenger Side Panel
Adds a passenger-side side access door for easier access to the truck bed from outside the camper.
Cannot be combined with Exterior 52 x 18 MOLLE Panel, Exterior 52 x 18 MOLLE Panel with Window Cut Out, L-Track 4ft or L-Track 6ft.
Offered on Mesa, Badlander
Slider Window 40x12 in
Passenger Side Window
Adds a passenger-side 40 x 12-inch glass sliding window with a removable screen for light and ventilation.
Requires either Fixed Solid Panel or gullwing door
Cannot be combined with Exterior 52 x 18 MOLLE Panel.
Offered on Mesa, Badlander
Slider Window 40x12 in
Passenger Side Window
Adds a passenger-side 40 x 12-inch glass sliding window with a removable screen for light and ventilation.
Cannot be combined with Exterior 52 x 18 MOLLE Panel.
Offered on Rincon
Tern Overland Awning Window
Passenger Side Window
Adds a passenger-side double-pane awning window with partial-opening positions, an insect screen, and an interior shade.
Requires Fixed Solid Panel
Cannot be combined with Exterior 52 x 18 MOLLE Panel, Exterior 52 x 18 MOLLE Panel with Window Cut Out or Passenger Side RotoPax Mount.
Offered on Mesa, Badlander
Tern Overland Awning Window
Passenger Side Window
Adds a passenger-side double-pane awning window with partial-opening positions, an insect screen, and an interior shade.
Cannot be combined with Exterior 52 x 18 MOLLE Panel, Exterior 52 x 18 MOLLE Panel with Window Cut Out or Passenger Side RotoPax Mount.
Offered on Rincon
Barn Doors with Two Fixed Windows
Rear Door
Replaces the standard rear hatch on the Rincon with two outward-opening doors and fixed windows while retaining the truck tailgate.
Offered on Rincon
Gull Wing with Window Delete
Rear Door
Rear gull wing door configuration with the fixed rear window deleted.
Offered on Mesa, Badlander, Rincon
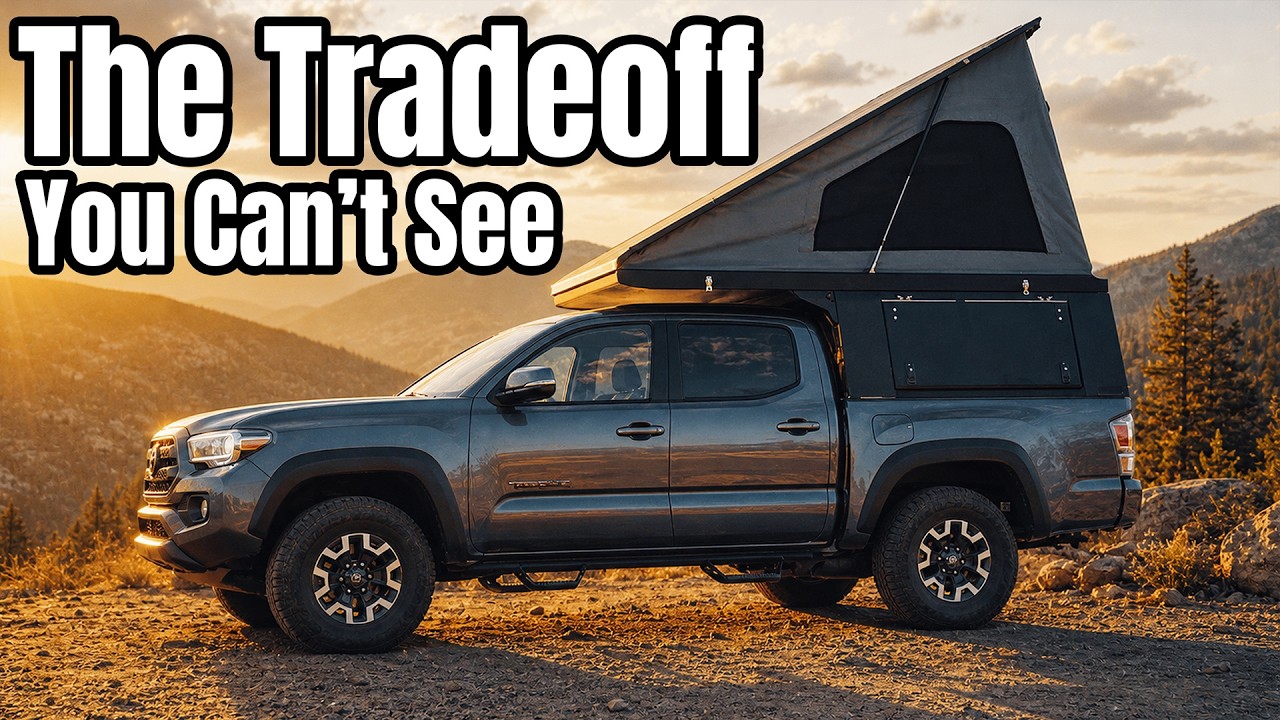 Play the walk-around · 13:35
 Watch this stage · 0:53